We knew we did not like the plain builder's grade mirrors that were in our bathrooms. We debated whether to bust the mirrors off the walls or just frame them up ourselves. Taking the mirrors down and replacing them with nice framed mirrors proved expensive and time consuming.
Framing the mirrors out with simple trim is the most cost effective and simplest way to do a quick update to your bathroom.
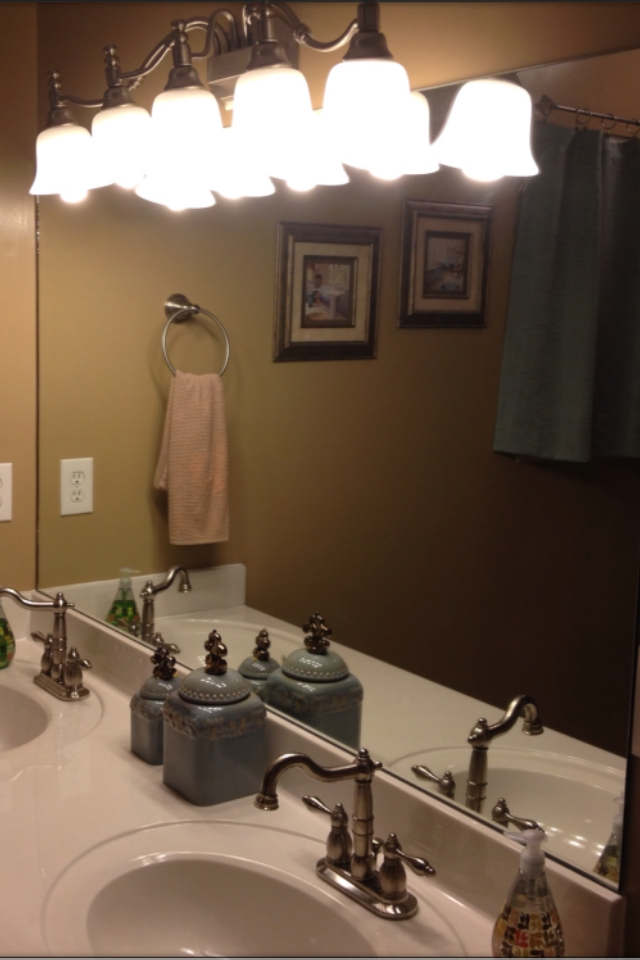
Here's how our Master bathroom mirrors looked before we framed them.
Here's after .......

Here's our second bathroom mirror before....

Here's after........

Now, we chose to use two different kinds of trim. In our Master bathroom we chose the trim and used trim blocks so there was no angles to cut. This mirror was much easier to do because of the lack of angles.
The second bathroom mirror was done with trim and we did make angle cuts. You just have to do a little more work to get your cuts right and then fill in the seams.
All you need is your trim pieces, liquid nails (Clear), and a saw or something to cut the trim pieces with. All you have to do is get your measurements, cut your pieces, paint the trim the color of your choice, put liquid nails on the trim pieces and stick them to the mirror. If you do angle cuts you will have to fill in the edges with caulk. If you use trim like my master bathroom there's no caulk needed.
Easy peasy! Done in one day. Makes a HUGE impact!
Tips:
- While your trim pieces are "Setting up" on the mirror, use blue painters tape to hold them in place while the liquid nails dries.
- We used White Gloss Lacquer Spray paint for our trim. Gave it a super nice glossy look.
- Home improvement stores have tons of trim designs and blocks to chose from. You can certainly add a custom look in one day
- When putting the liquid nails on the trim, do not go all the way to the edge with it. If you do, you see it in the reflection of the mirror. Even clear liquid nails will be seen. We stayed about 1/2 inch from the inside edge of the trim and it worked out nicely.
No comments:
Post a Comment